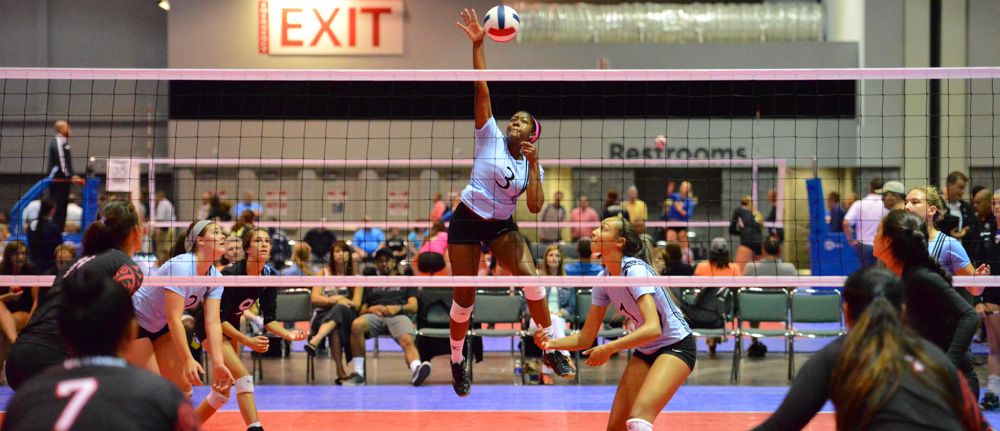
Want to jump higher? Learn to squat. Want to land safely after a jump? Learn to squat. The low bar squat is one of the three traditional "power lifts" (along with deadlift and bench press) that engage the entire body, and the one that is most directly applicable to jumping mechanics.
Following the five common elements, the goal of the squat is to descend to the point where the hip crease is just below the knees (called "hitting parallel", due to the thighs being parallel with the ground) before pushing up to reclaim a standing position.
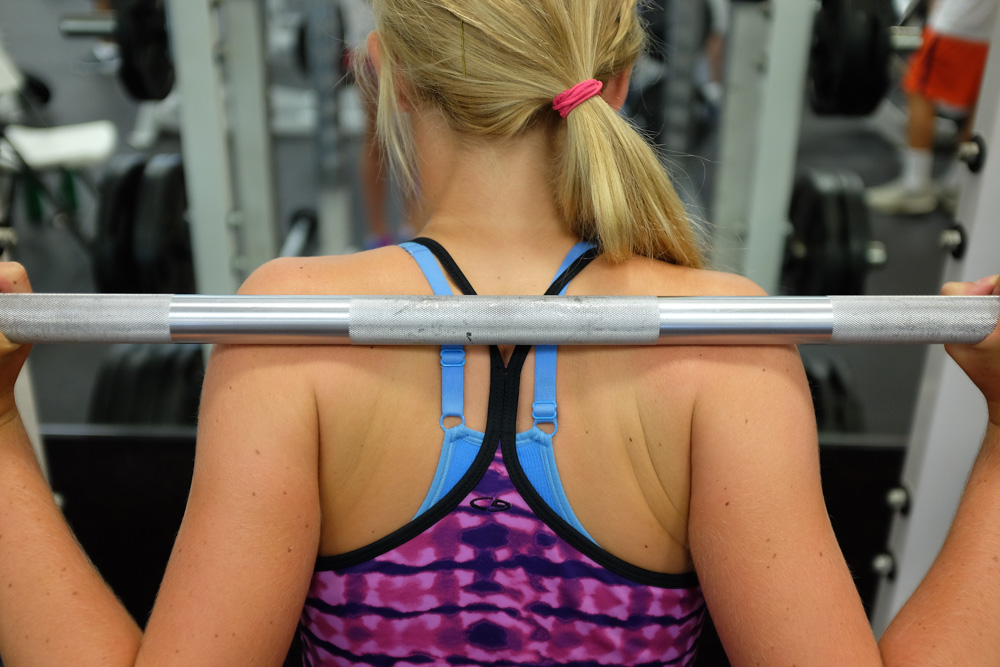
During the setup, bar placement is important. With the muscles of the shoulder and upper back contracted (think "tight back" as you draw your shoulder blades together), there is a natural "shelf" near the top of the shoulder blades that will become evident through practice. This shelf is ideal for bar placement with a back squat. The bar should not be so high as to rest across the top of the shoulders, or the bottom of the neck.
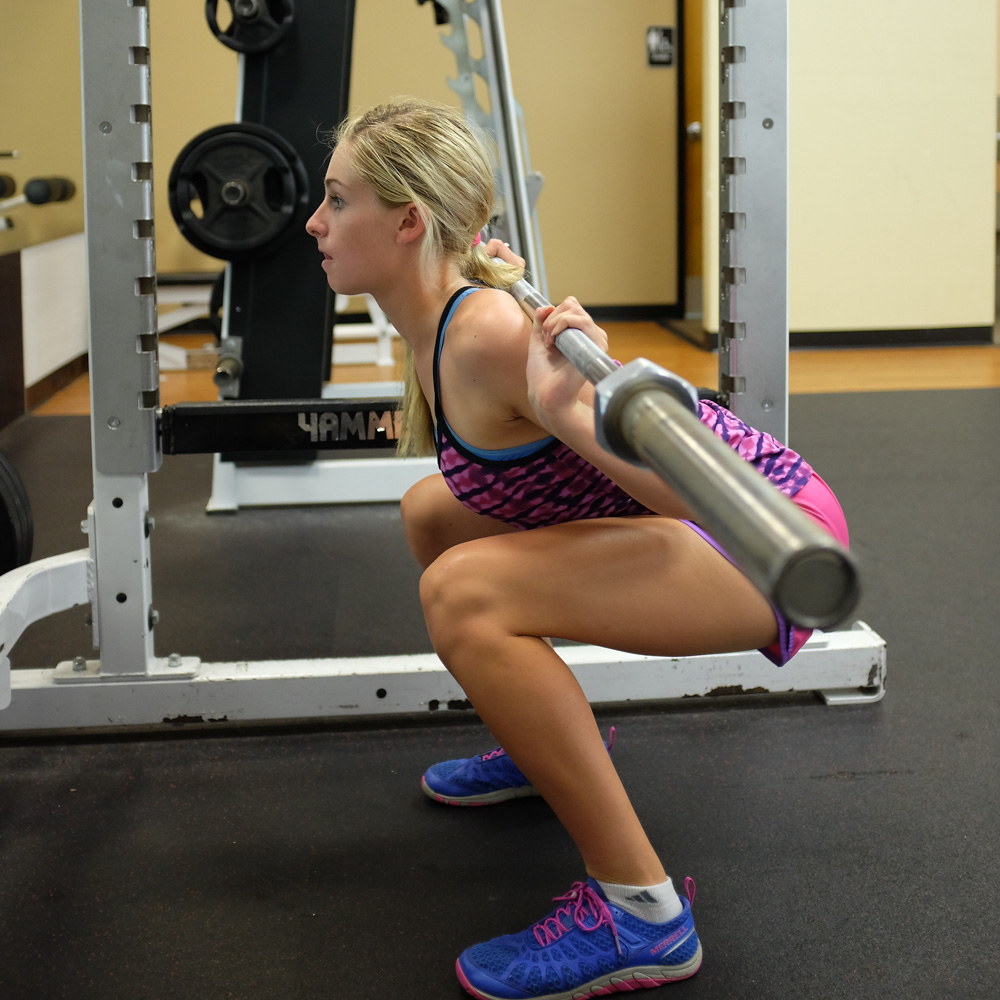
With the bar on your back, there are two ways to lower yourself from a standing position – pushing your knees forward, and pulling your hips backwards. Which method do you think would be safest and most effective?
To protect the knees while generating the most power, it is important to start the descent by "reaching back with the hamstrings", and moving the hips backwards – NOT by moving the knees forward. Picture yourself simply sitting back into a chair. By doing so, you maximally engage your hips and their primary movers – the glutes, hamstrings, and quadriceps. This critical starting sequence illustrates the principle of "load ordering", and its impact on protecting your knees. Briefly, load ordering states that the first joints to move are the joints that are maximally loaded during the exercise.
Said another way, your goal during the squat is to "hit parallel" -- with thighs parallel to the ground -- while keeping your shins as vertical as possible for as long as possible. Your knees should not advance forward past your toes – most of the flexion should occur in your hips, and the "frontal shear" on your knees caused by knees jutting forward should be minimal.
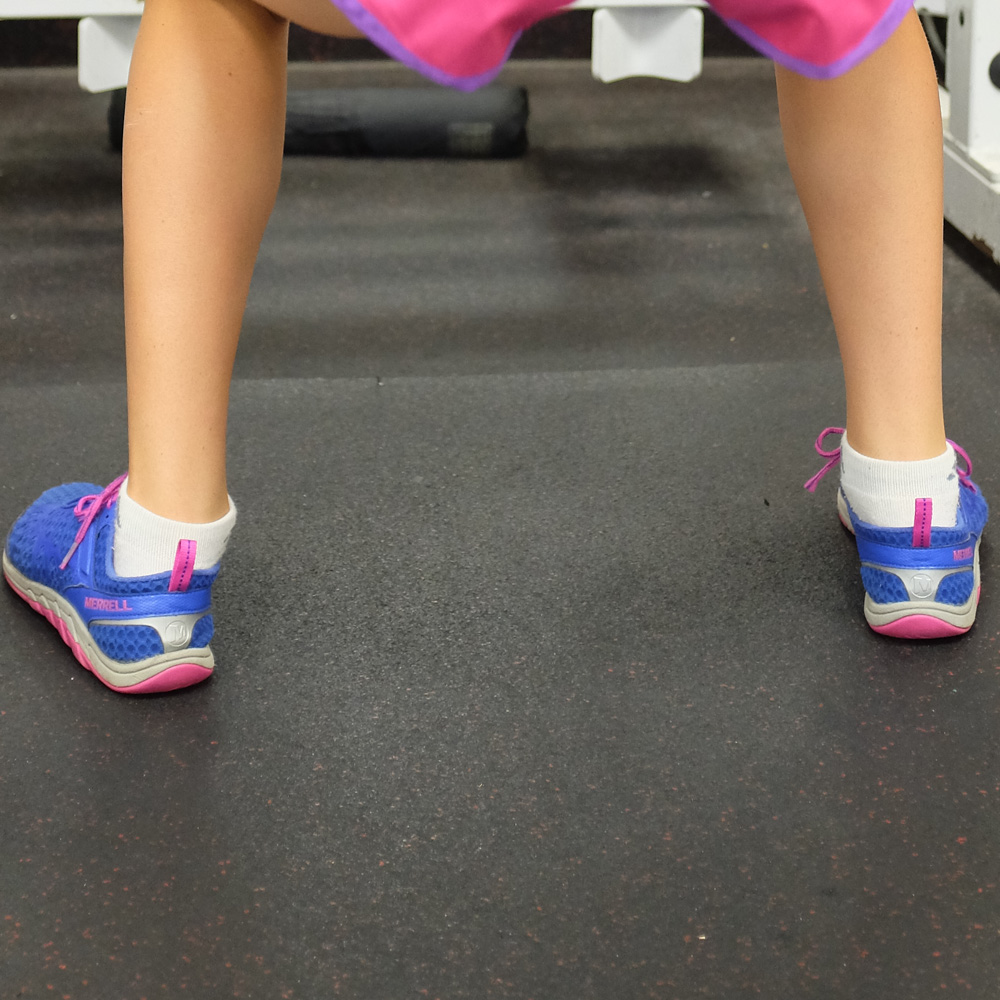
During the descent, two helpful cues to maintain ideal shin and knee position are "knees out" and "spread the floor" – actively forcing the knees outwards during the descent as you reach back with your hips while generating external rotation torque in your hips as if you are trying to rotate both feet away from the body's midline. These cues counter any tendency for knees to buckle inwards, which is referred to as a "valgus fault". The valgus fault, along with ankles collapsing inward, are the two primary signs of weakness during the squat that translate into potential for injury on the court. Watch carefully for those faults during each exercise, and seek to correct them with external rotation torque and driving your knees outwards.
Three additional details to consider:
1. Your toes should begin the squat oriented somewhere between straight ahead and five degrees outwards – no more than 10 degrees at the maximum. Traditional strength training sometimes embraced a "duck footed" squat with the toes angled outwards at up to 30 degrees. This outward stance is a compensatory mechanism to work around inadequate hip mobility. Your ability to generate torque in the hips is severely compromised with toes angled outwards, and your goal is to develop your squat form so that it mirrors the ideal form for jumping and landing. If you have difficulty hitting parallel with toes pointing close to straight ahead, specific mobility work should be prescribed along with additional practice.
2. Initially, you may practice the squat with a lightweight barbell being placed on your back by your instructor or partner. Eventually, you will progress to "unracking" a standard Olympic barbell weighing 45 pounds out of the squat rack by yourself. Unracking is a critical part of the lift, and demands that you stabilize the spine and fully engage your core before lifting the weight. You should also ensure that your feet are in their ideal position, and that you can simply take one step back with each foot before setting up for your first descent.
3. During the squat, your weight should be centered over the middle of your feet. You should not feel as if you are leaning backwards on your heels, or leaning forwards over your toes. Although you begin the squat by "reaching back" with your hamstrings and hips, that does not mean your center of gravity moves backwards as well – you are bending at the hips so that your torso is tilting forwards to keep your weight centered over your feet.
In summary, the cues for a complete squat are as follows:
As a result of practicing the squat, you will build the neuromuscular memory to ingrain valgus fault and ankle collapse prevention, protecting your knees and ankles. Additionally, you will gain significant balance, core, and overall body strength.
Once an athlete develops the motor control and mobility to successfully complete a back squat, it is worth learning the front squat as well. The front squat develops further hip and shoulder mobility, and directly trains safe jumping and landing with a more vertical torso as typically experienced with play at the net.